
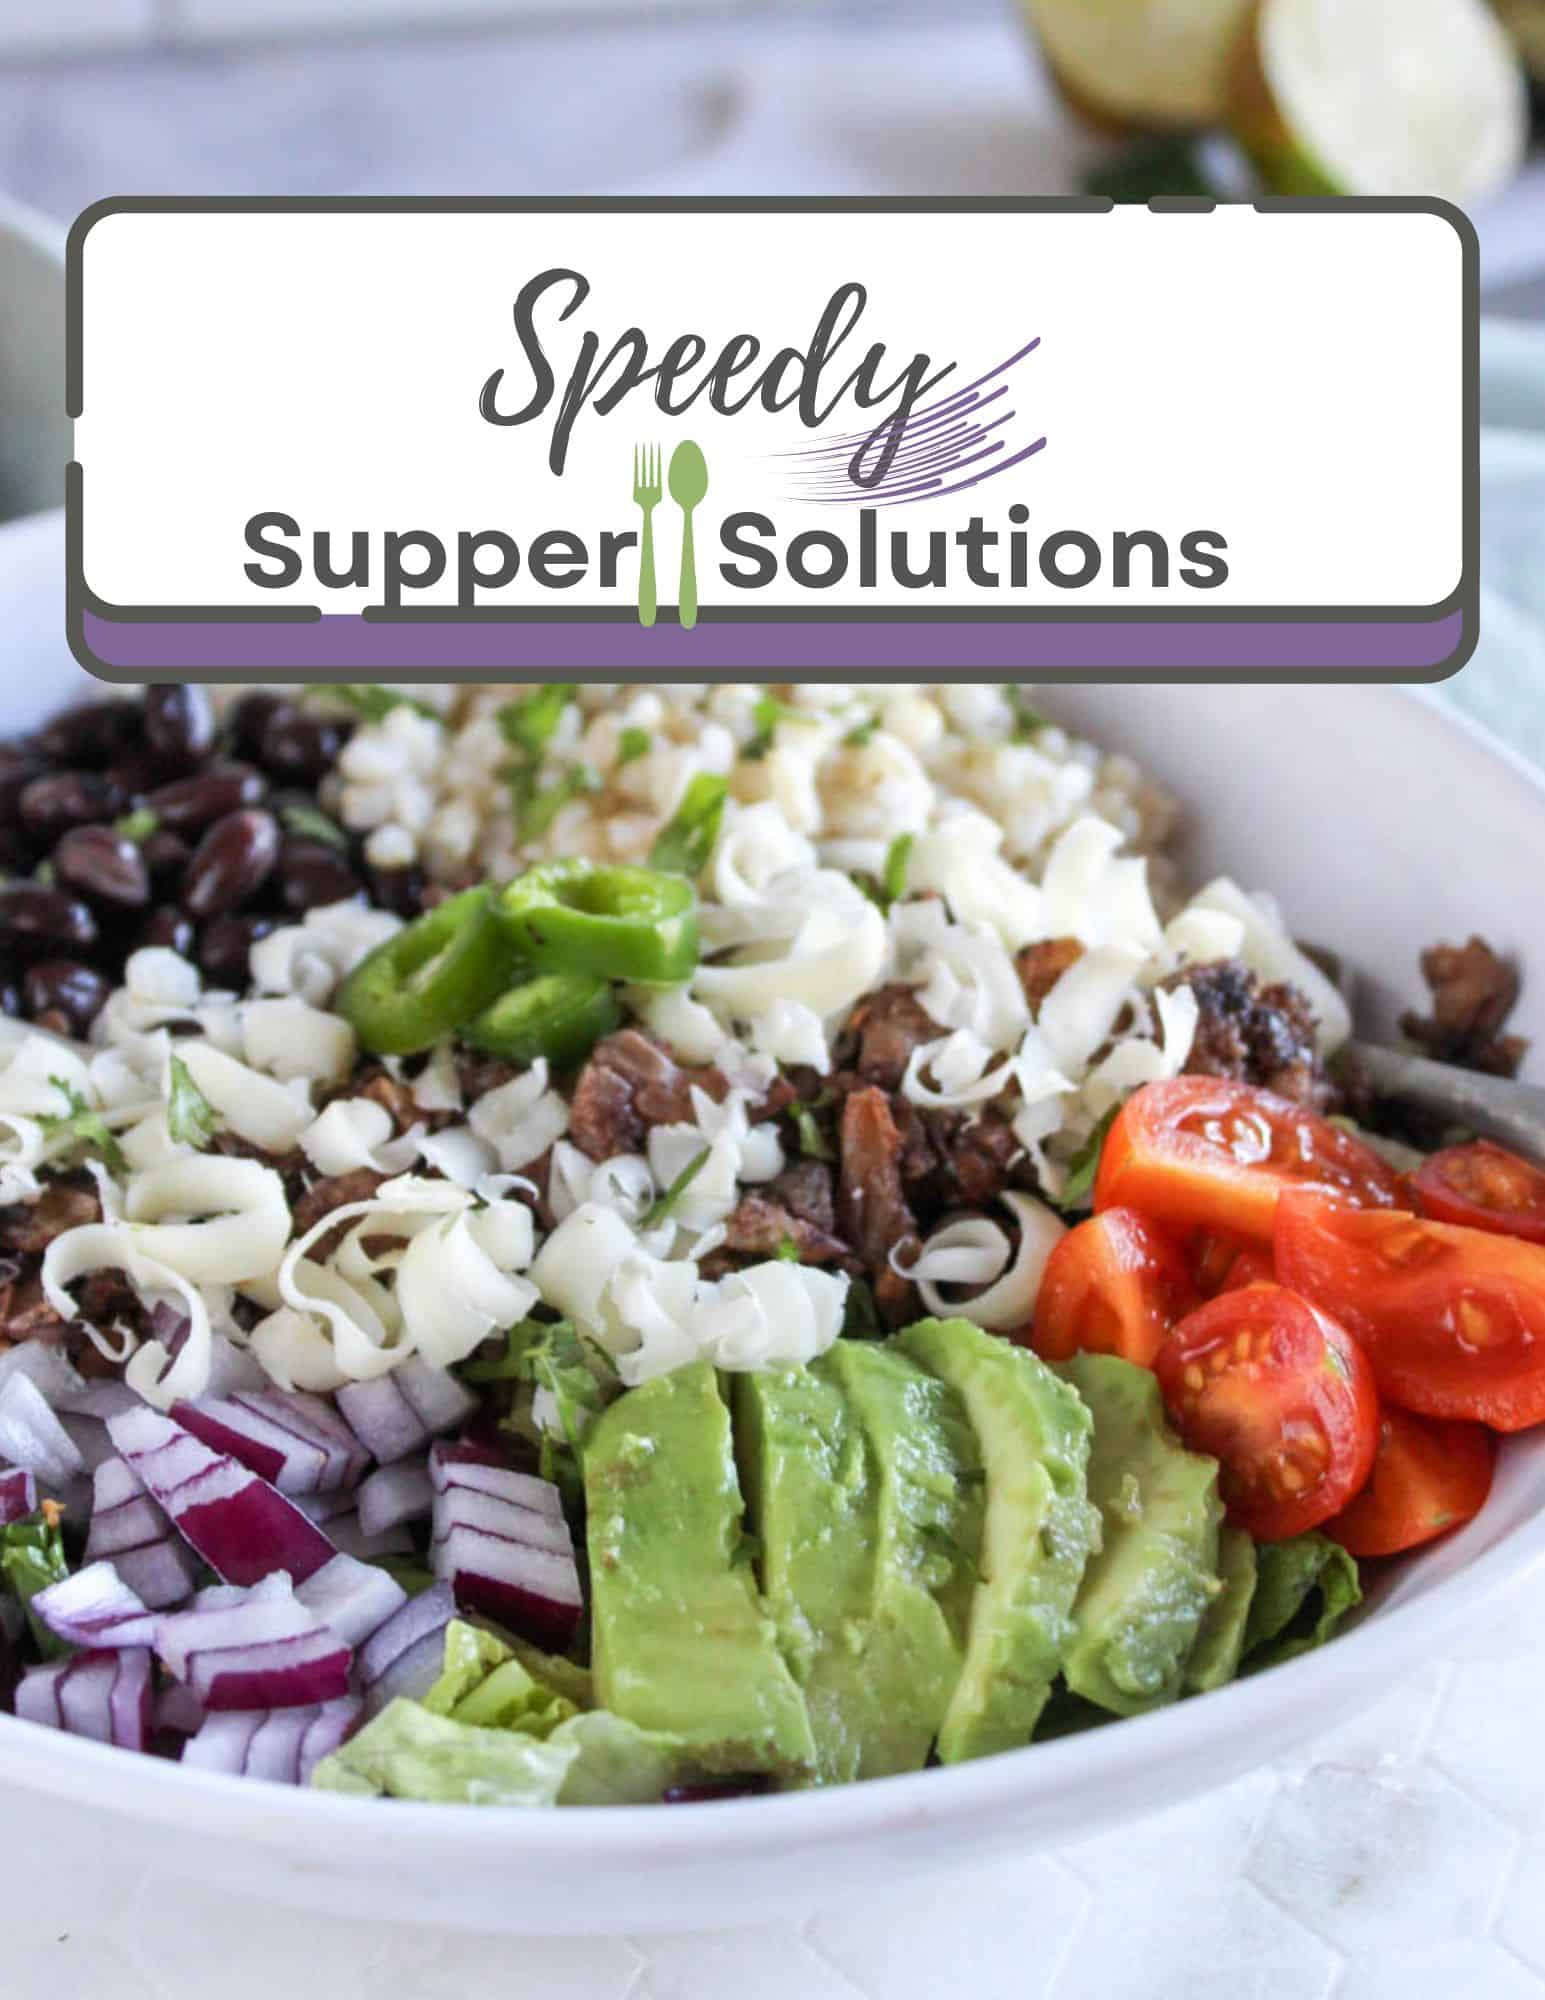
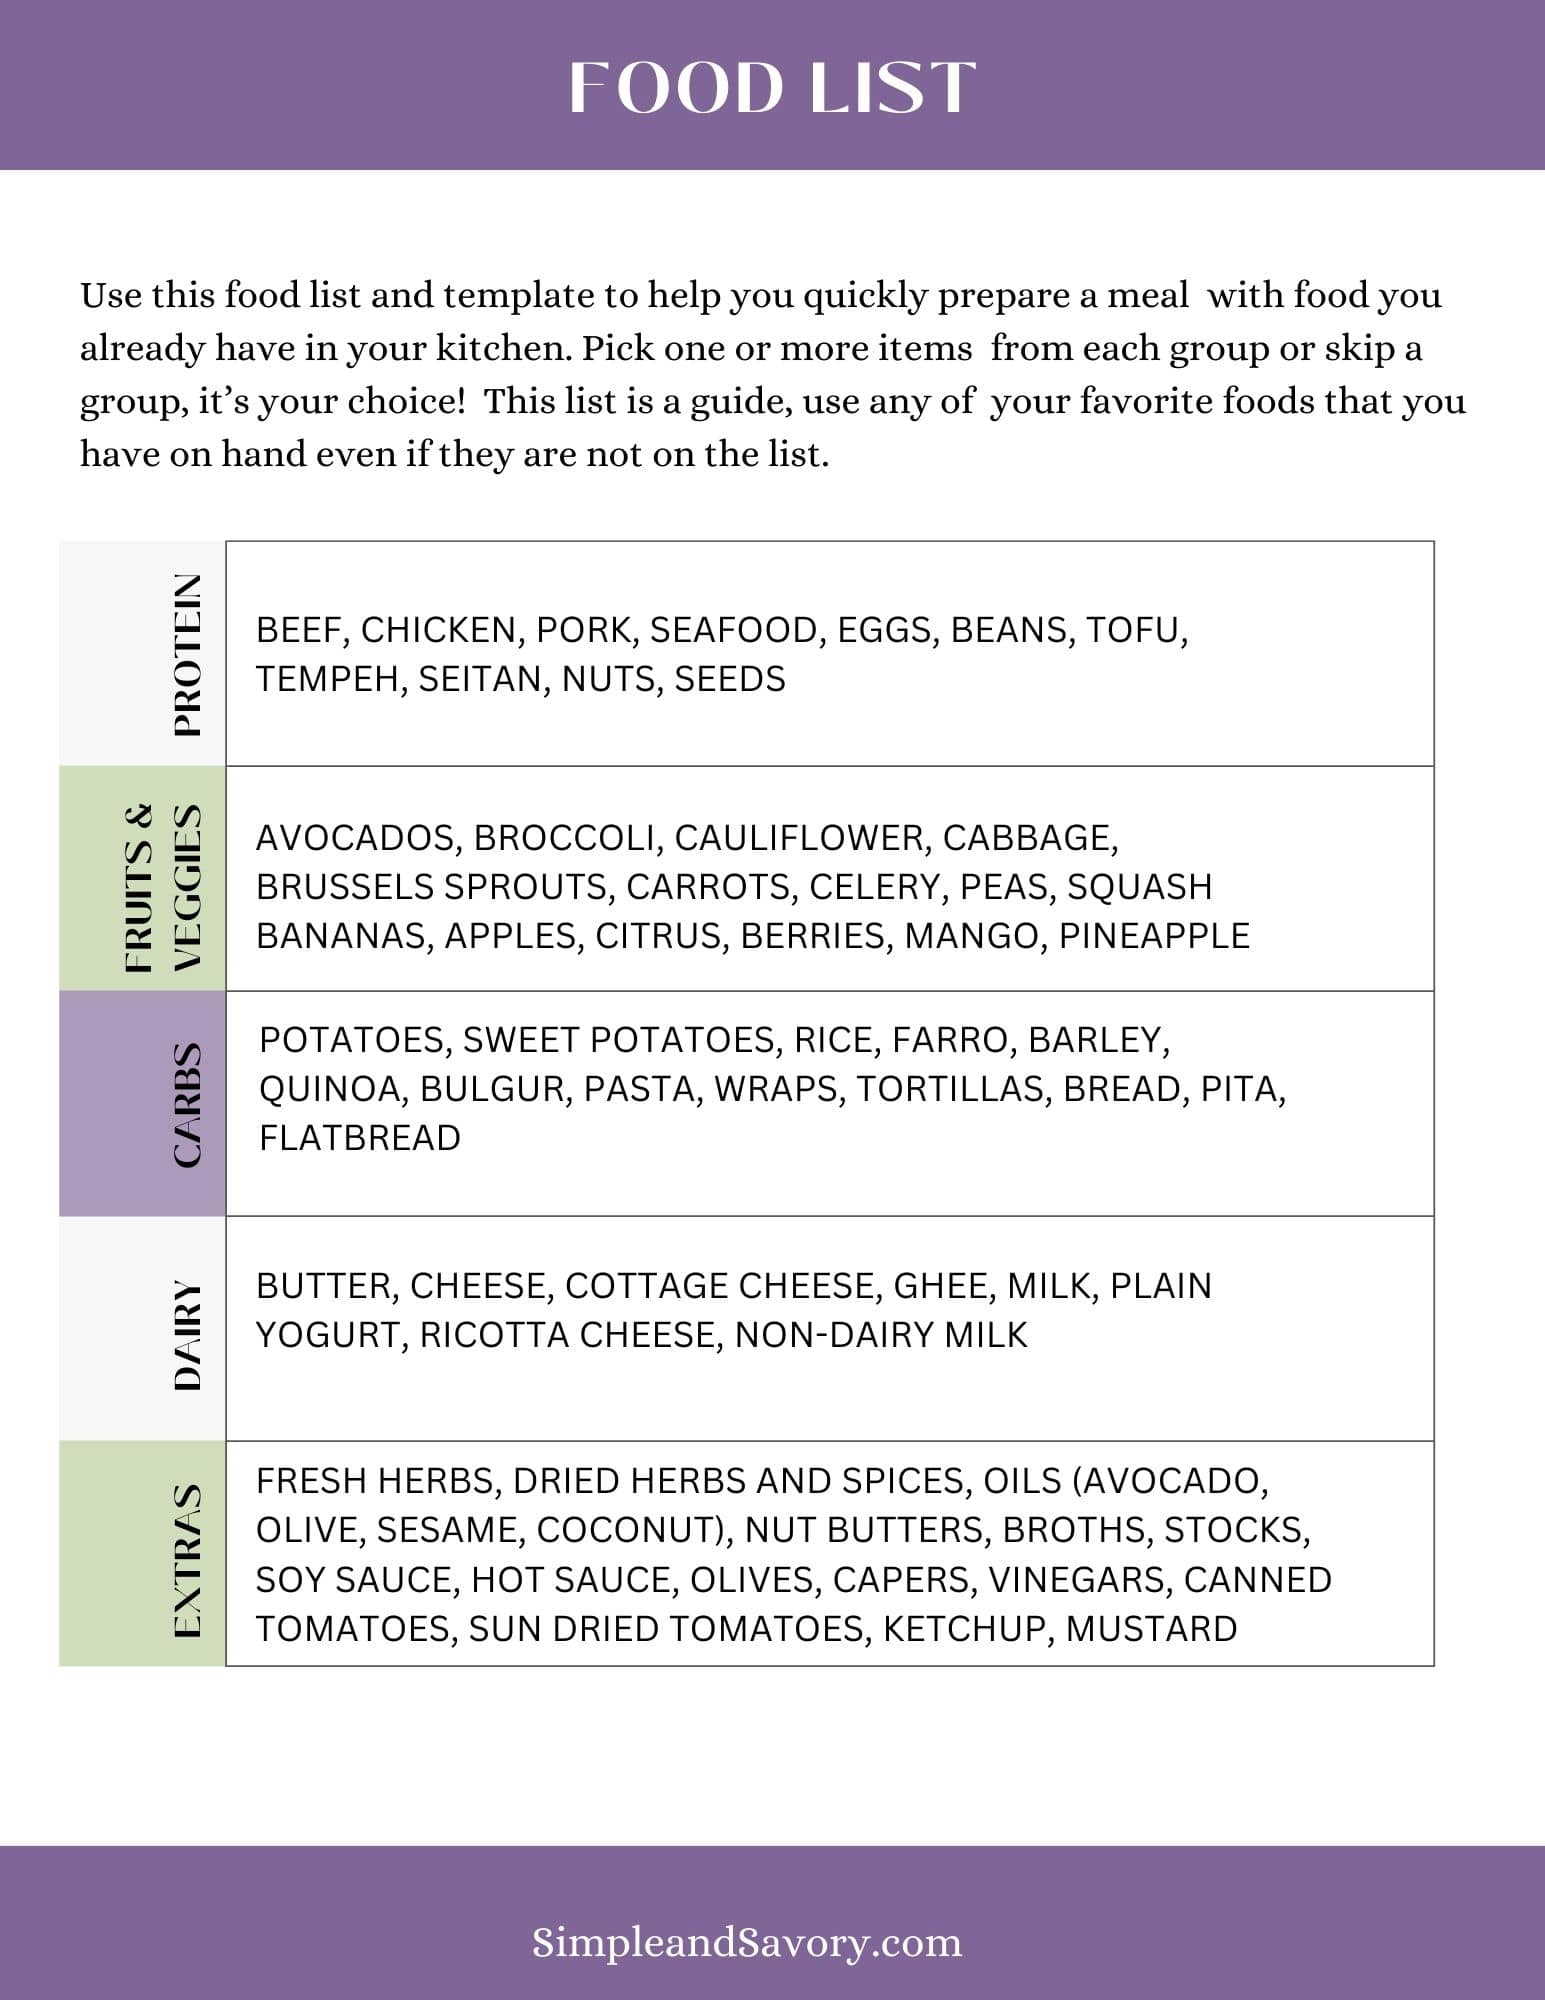
Grab your Free copy
Speedy Supper Solutions
If you are feeling uninspired when it’s time to cook dinner, this free guide will help you make a quick and healthy dinner with ingredients you already have in your kitchen.

Meet Anne
Hi, I’m Anne and you’re at the right place if you’re looking for some DELICIOUS and easy recipes! At Simple and Savory, all recipes are made with fresh, wholesome everyday ingredients, and take minimal effort to prepare.
Connect with me
Follow me on social media!
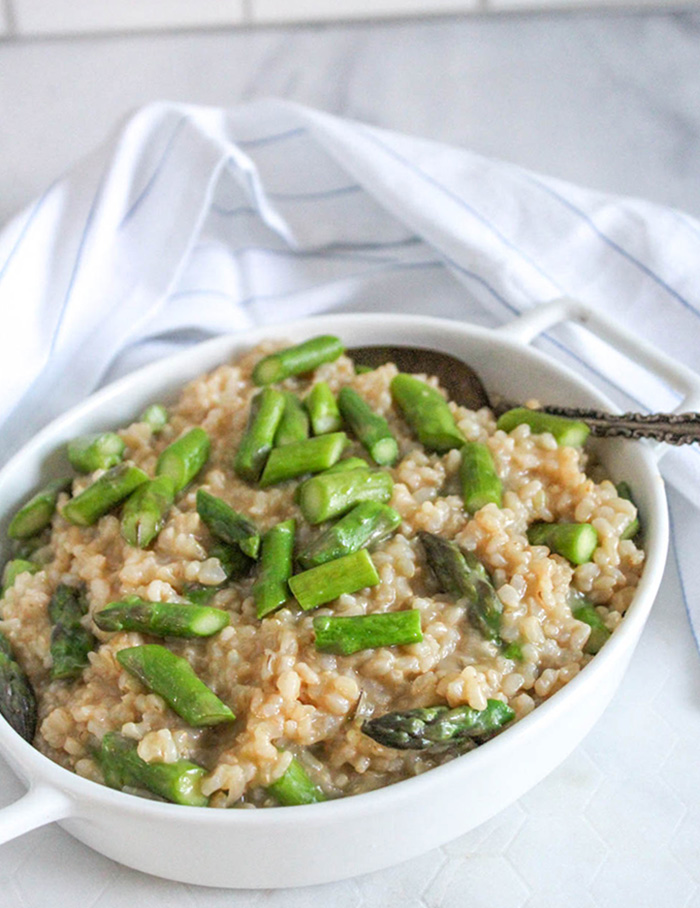
Slow Cooker Recipes
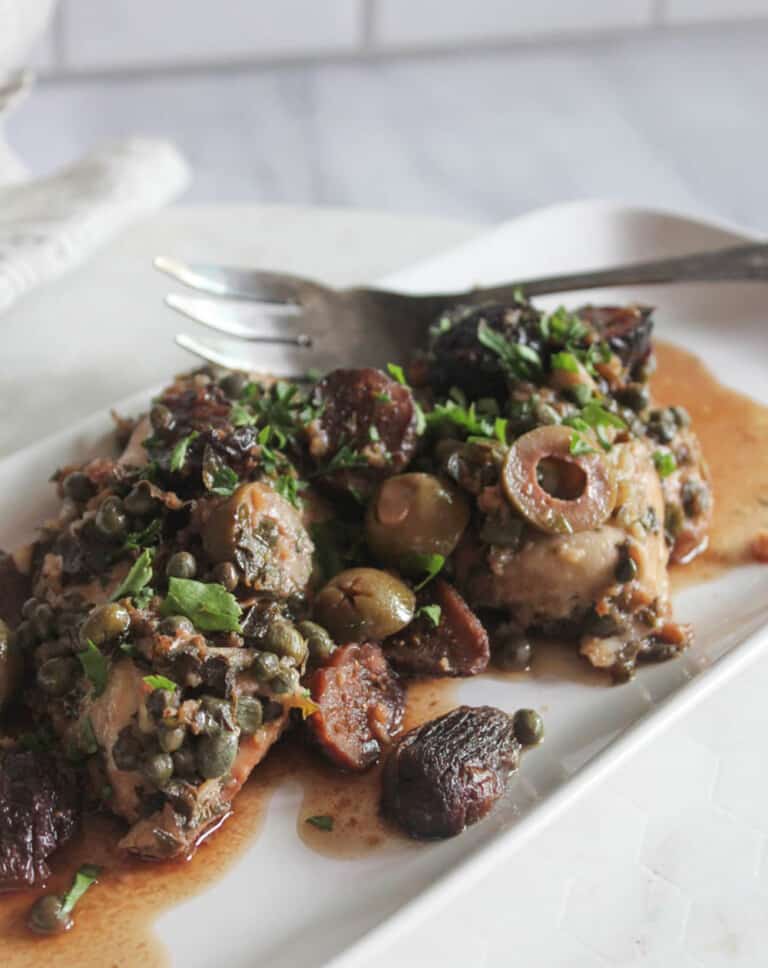
Crockpot Chicken Marbella Recipe
Crockpot Chicken Marbella is a remake of a classic recipe from the Silver Palate Cookbook…
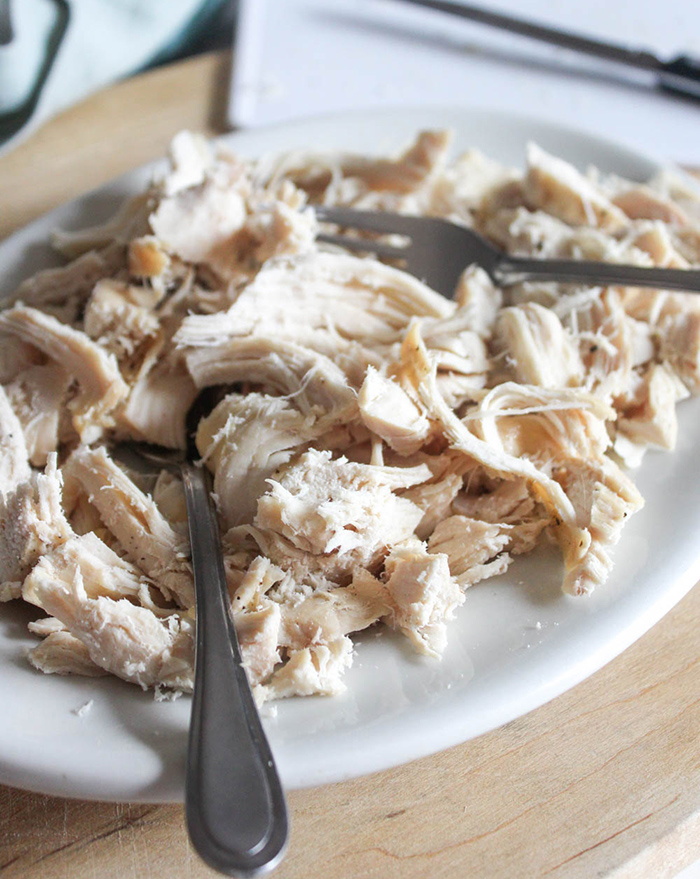
Easy Slow Cooker Shredded Chicken Recipe
Shredded chicken is a versatile ingredient that can be used as a base in many…
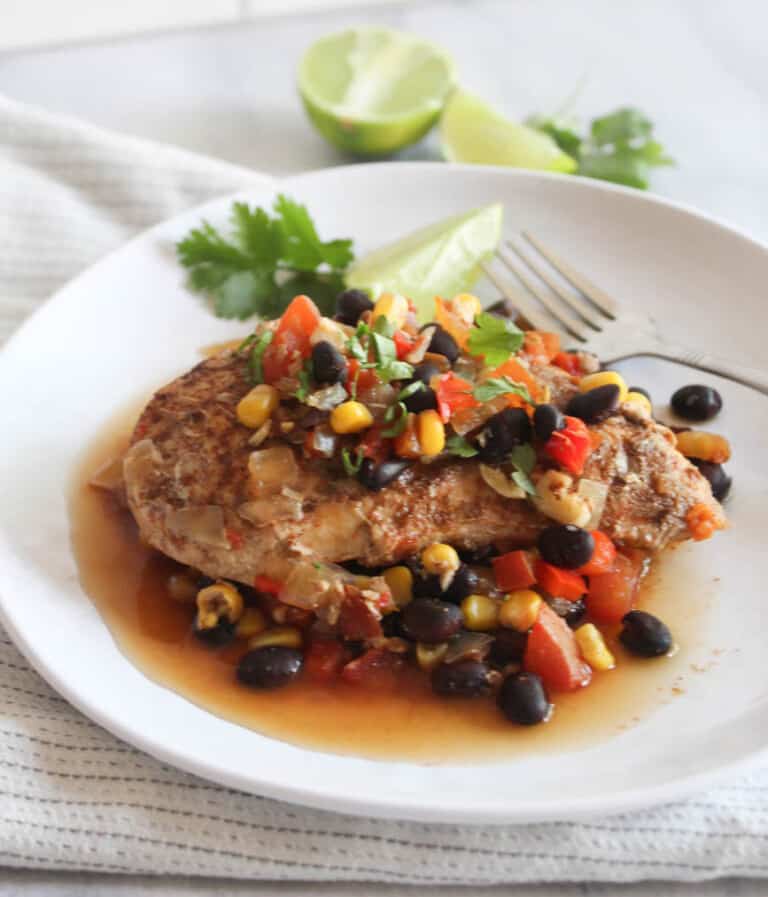
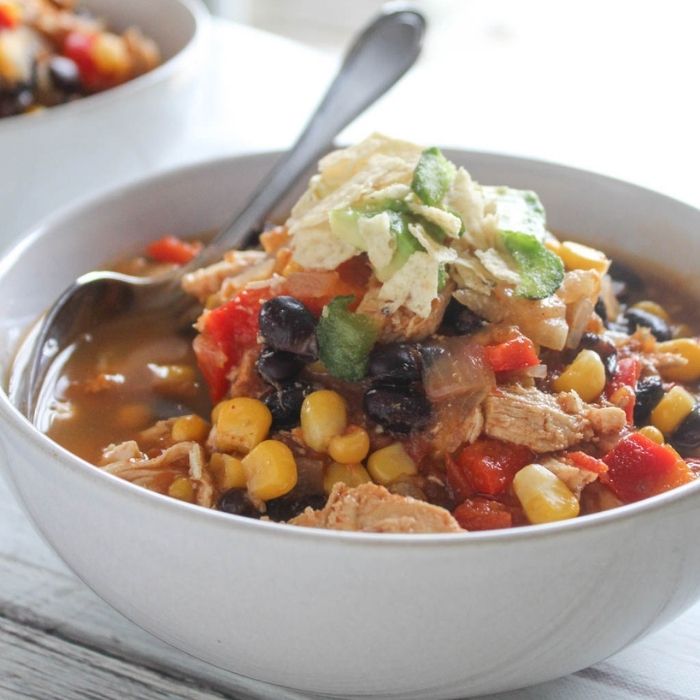
Crockpot Southwest Chicken Recipe
This crockpot southwest chicken recipe is packed with tasty ingredients like juicy tomatoes, black beans,…
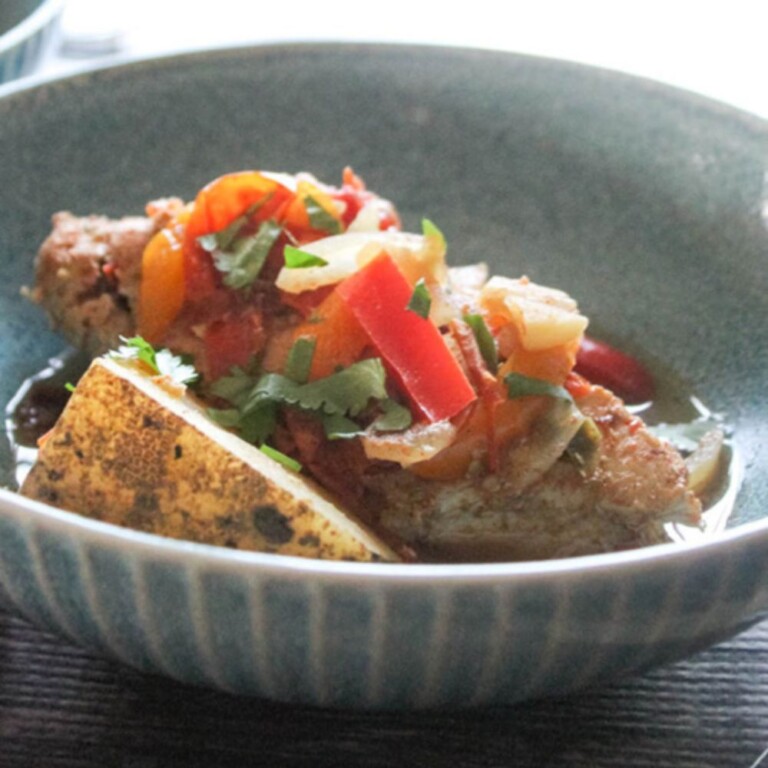
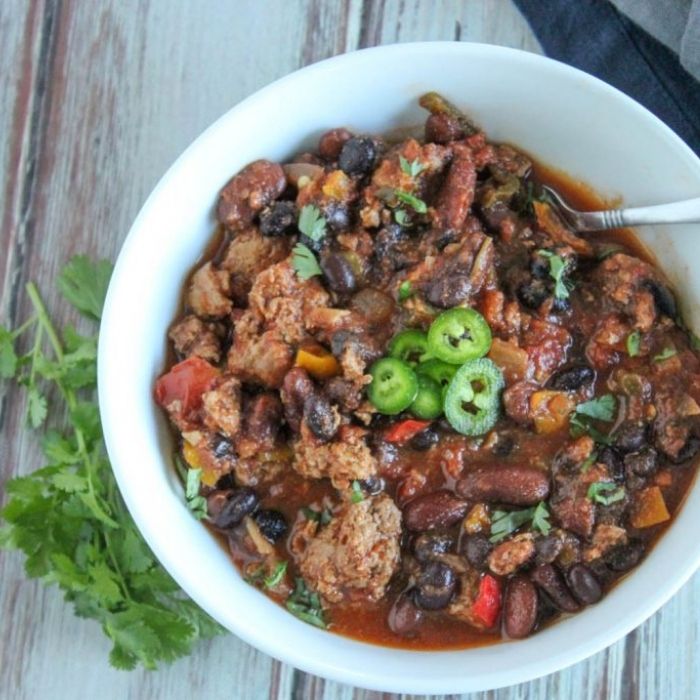
Spicy Slow Cooker Chipotle Chicken Stew
Slow-Cooker Chipotle Chicken is a smokey and spicy chicken stew that will warm your soul….
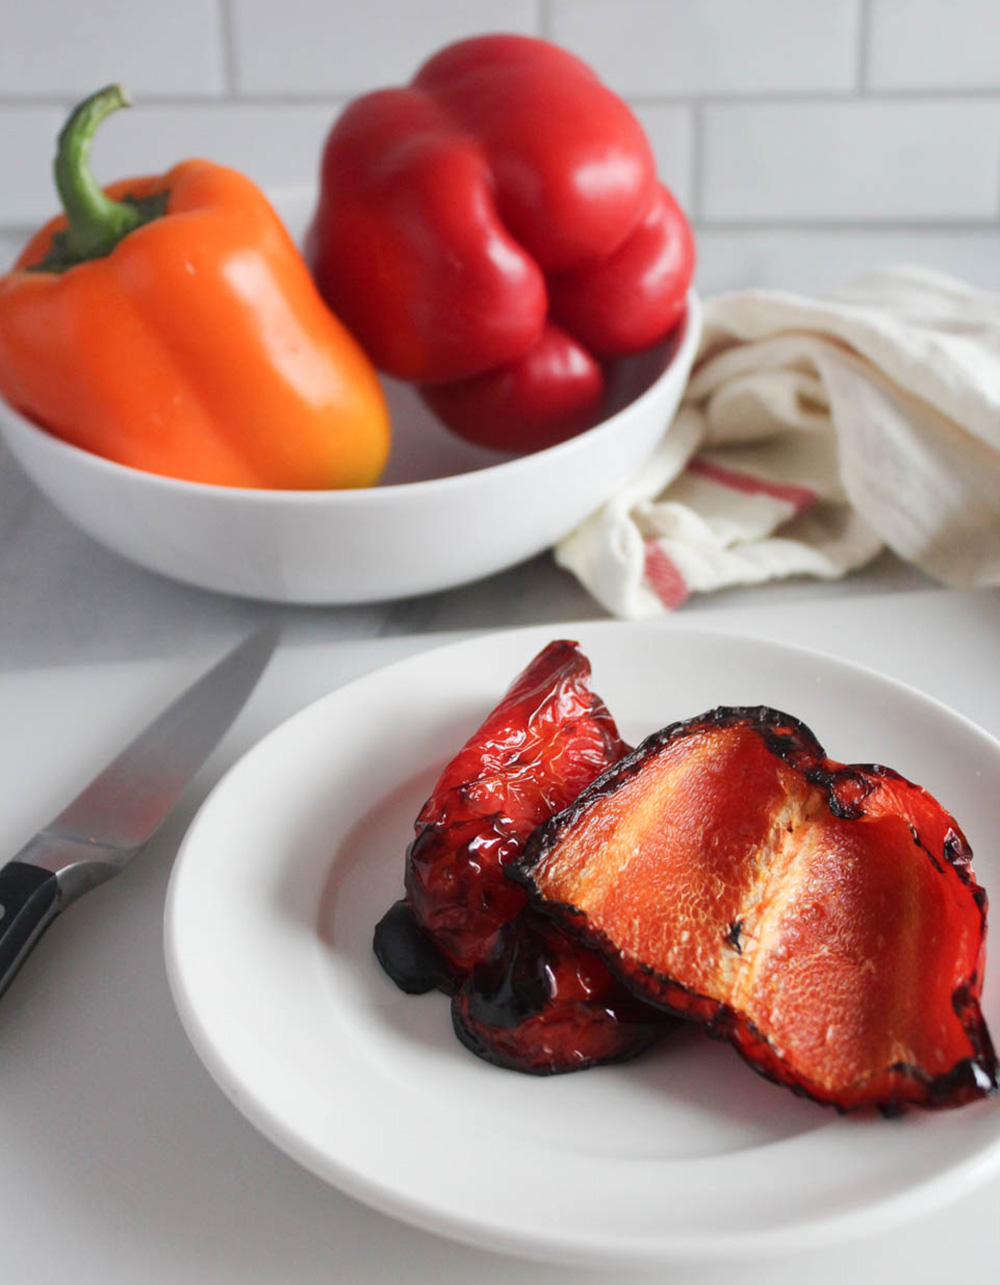
How to’s & Food FAQs!
Learn how to roast garlic, make roasted peppers and more!
Air Fryer Recipes
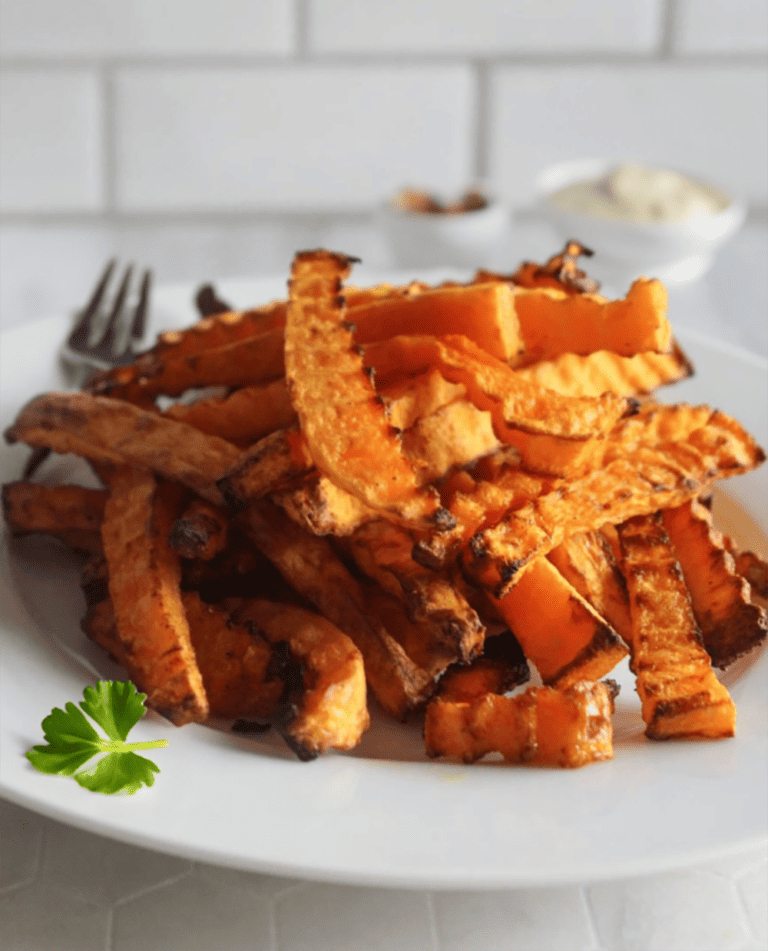
Butternut Squash Fries – Air Fryer Recipe
With a few simple ingredients and some basic kitchen equipment, you can easily make this…
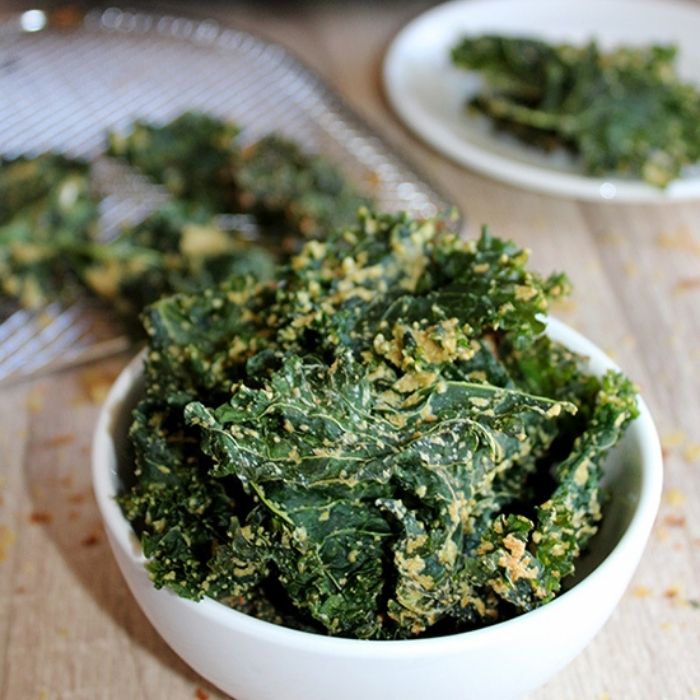
Crispy Air Fryer Kale Chips Recipe
This air fryer crispy kale chips with nutritional yeast recipe is the perfect mix of…
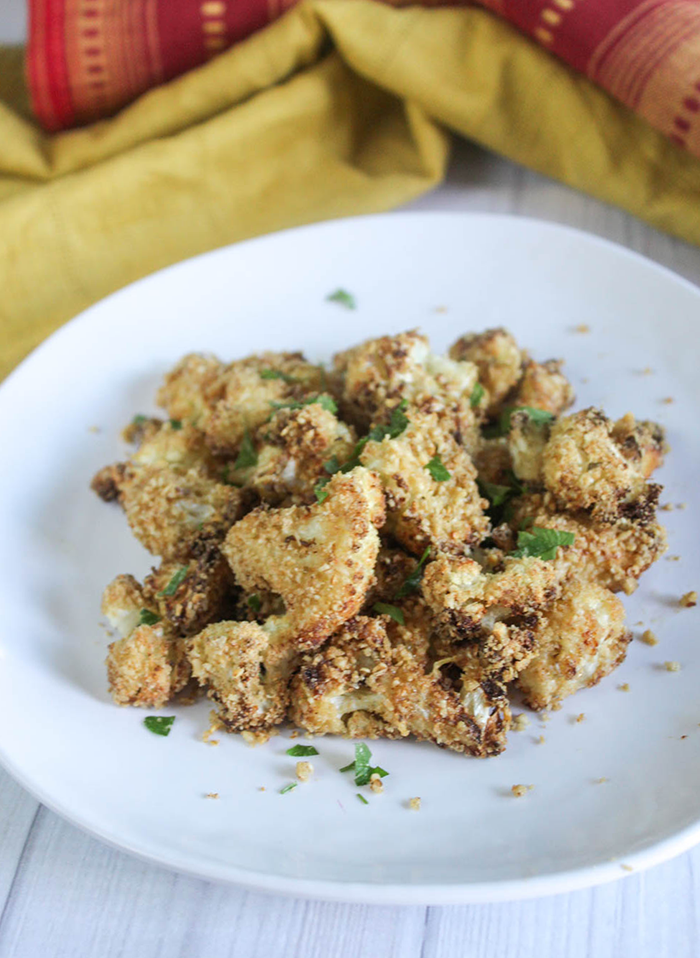
Crispy Air-Fryer Cauliflower Recipe
This air fryer cauliflower recipe is so simple and delicious! Little cauliflower florets are coated…

Air Fryer Baby Potatoes
Air fryer baby potatoes are sure to become your next family favorite! They are air-fried…
My Favorite Products